When to Install Your Travel eSIM Before a Trip: Timing, Setup, and Activation
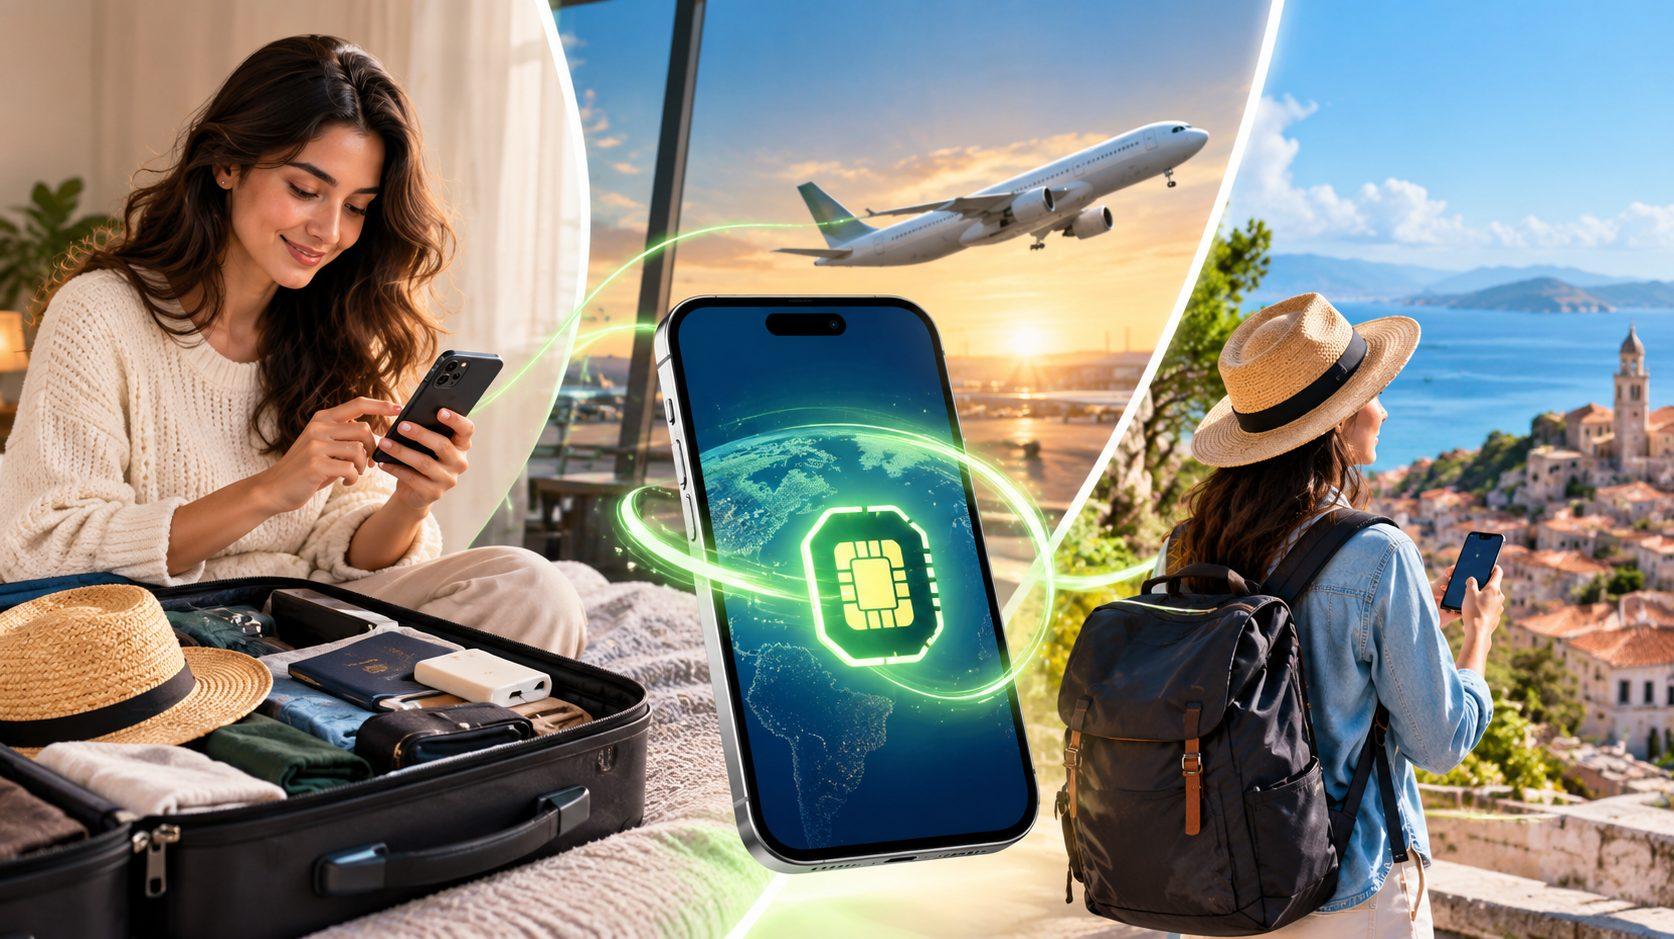
A travel eSIM (embedded SIM) is a digital data plan that downloads onto the chip already built into your phone, so you can use a local or regional network abroad without a plastic SIM card. The right moment to install one is 1 to 2 days before departure, on a stable Wi-Fi connection at home. You then turn the line on after you land.
Timing matters because installation and activation are separate events. Installation downloads the eSIM profile through a QR code, a provider link, or manual entry of an SM-DP+ address and activation code. Activation happens later, when the phone connects to a supported network inside the plan’s coverage area. Most travel plans start their validity clock at that first connection. A smaller group of plans starts counting days the moment the profile is installed, so the plan details decide your schedule.
Phone makers set the ground rules. Apple supports eSIM on the iPhone XS and later, stores eight or more eSIMs on recent models, and sold every iPhone 14 and newer in the United States as eSIM-only. Samsung Galaxy and Google Pixel phones add eSIMs through their SIM manager screens. The GSMA, the mobile industry body behind the eSIM standard, defines how these profiles download and switch on.
Before you scan anything, the phone must be free of any carrier lock, and you’ll want a few minutes of reliable internet. After landing, enable the eSIM line, switch on data roaming for it, and set it as the cellular data line. Your home SIM can stay on for calls and texts while its data stays off. Most problems travelers report come from scanning at the airport gate on weak Wi-Fi, deleting the profile by accident, or leaving roaming on for the home line.
Installation and activation are two different steps
Installing an eSIM means downloading the profile onto your phone. The profile sits in your settings, labeled as a second line, but it doesn’t use data or connect to anything while you’re still at home.
Activation is the moment the eSIM registers on a partner network in the destination. For most travel plans this happens automatically once you switch the line on and the phone finds a local tower. Holafly, Airalo, and Nomad all describe the same split in their help centers: install early, activate on arrival.
The profile download needs internet, and the connection you can count on is the one at home. Activation needs the foreign network, which you only reach after you land. So the sensible order follows the travel order, and the calendar question comes down to how many days of slack you want.
The best time to install: 1 to 2 days before you fly
Pick a day or two before departure for the install. That window gives you time to fix a failed scan, contact support during normal business hours, or switch phones if yours turns out to be locked. It also keeps the download off airport Wi-Fi, which is often slow or behind a captive login page.
Each timing choice carries a different risk:
One week or more early: works for plans whose validity starts on first network connection. Risk: you might forget it and delete it during a phone cleanup.
One to two days early: the recommended window for almost every traveler. Enough slack to troubleshoot.
Same day at the airport: possible, but airport Wi-Fi drops connections often, and a half-finished download can leave a QR code marked as used.
After landing: a fallback only. You’ll need Wi-Fi at the arrival hall or hotel before you have any mobile data.
One exception changes the math. If your plan’s validity begins at installation, install it the evening before you fly or on arrival day. Otherwise you burn paid days at home. Validity rules vary by provider and by plan, so read them before you pick a date.
What to check before you install
A five-minute check prevents most failed installs. Run through these items first:
Confirm your phone supports eSIM. On an iPhone, open Settings, then General, then About, and look for a Digital SIM entry. On Android, dial *#06# and look for an EID number.
Verify the phone isn’t locked to a carrier. A phone financed through one US carrier may reject a third-party eSIM until the carrier lifts the lock, usually once the device is paid off.
Connect to stable Wi-Fi. Home internet is ideal. Avoid hotel or café networks with login pages.
Read the plan’s validity policy, data allowance, and coverage countries.
Save the QR code or activation details somewhere you can reach offline, such as a screenshot on a second device.
Many eSIM QR codes work only once. If the download fails halfway or you delete the profile later, you’ll usually need the provider to issue a new one. With those checks done, the install itself takes a few minutes on any major phone.
How to install a travel eSIM on iPhone, Samsung, and Pixel
Setup paths differ by operating system, but each one ends with a new line in your SIM settings.
iPhone
Open Settings, tap Cellular, then tap Add eSIM. Choose Use QR Code and scan the code from your provider, or tap Enter Details Manually to type the SM-DP+ address and activation code. On iOS 17.4 and later, many providers also offer a one-tap install link that opens the setup screen directly. Label the line “Travel” to tell it apart.
Samsung Galaxy
Go to Settings, then Connections, then SIM manager, and tap Add eSIM. Scan the QR code or enter the activation code. Menu names shift slightly between One UI versions, so look for “SIM manager” or “SIM card manager.”
Google Pixel
Open Settings, tap Network & internet, then SIMs, and choose to download a SIM. Scan the code when the camera opens.
After the download finishes, leave the new line switched off until you arrive. On iPhone you can toggle it off under Cellular. On Android, disable it in the SIM manager. That leaves only the arrival steps.
What to do when you land
Landing is when the travel eSIM goes to work. Once the plane is on the ground and airplane mode is off:
Turn on the travel eSIM line.
Enable data roaming on that line only. Travel eSIMs connect through partner networks, so the phone treats them as roaming.
Set the eSIM as your cellular data line.
Turn off data roaming on your home SIM to avoid charges from your regular carrier.
Restart the phone if no signal appears within a few minutes.
Your home line can stay active for calls and SMS, including two-factor codes from your bank. Apple calls this Dual SIM Dual Standby: both lines receive calls, but only one handles data at a time. If you enable Allow Cellular Data Switching on iPhone, the voice line can borrow data during calls, which may trigger fees from your home carrier, so most travelers leave it off.
Common timing mistakes to avoid
A handful of errors account for most “my eSIM isn’t working” moments abroad:
Installing at the departure gate on congested airport Wi-Fi.
Deleting the eSIM profile after a failed connection instead of troubleshooting settings.
Buying a plan whose validity starts at install, then installing it a week early.
Forgetting to switch on data roaming for the travel line.
Leaving the home SIM as the data line and paying international roaming rates.
Using a carrier-locked phone without checking first.
Installing a day or two early lets you catch each one at home, and Vesim plans are built for that kind of advance setup.
Installing a Vesim eSIM before your trip
Vesim sells travel eSIM plans for 220 countries and destinations, with prices starting from $0.60. Plans activate instantly with no physical SIM to swap, and more than 10,000 travelers use them.
Each destination has its own page with coverage and plan details. A trip to Japan starts at the Vesim Japan eSIM page, and a European city break might begin with the France eSIM plans. Check the validity rules on the plan details for your country before you set an install date. If you’re traveling within the US, the United States eSIM page lists domestic options.
Does installing a travel eSIM start the plan?
No, for most plans. Validity usually begins when the eSIM first connects to a supported network in the destination. Some plans start counting at installation, so check the plan details before you install.
Can I install my eSIM a week before I travel?
Yes. Plans that activate on first connection can sit installed for a week or longer without using data or days. Just keep the line switched off and don’t delete it during that time.
Do I need Wi-Fi to install an eSIM?
Yes. The profile download needs a stable internet connection, which is why home Wi-Fi works best. Some eSIM-only iPhone models can activate a carrier plan without Wi-Fi in certain regions, but travel eSIM downloads still expect a connection.
What is an eSIM QR code?
An eSIM QR code is a scannable link that contains the SM-DP+ server address and activation code your phone uses to download the profile. Most codes work once, so save a copy until the install succeeds.
What is data roaming on a travel eSIM?
Data roaming is the setting that lets your phone use a partner network outside the eSIM provider’s home country. Travel eSIMs need it switched on for the eSIM line, while your home SIM keeps it off.
Which phones support travel eSIMs?
iPhone XS and newer, Samsung Galaxy S20 and newer, and Google Pixel 3 and newer support eSIM, along with many recent Motorola, Xiaomi, and OnePlus models. Some regional variants lack eSIM, so confirm the EID on your exact device.
Which settings should I change after landing?
Change three settings: turn on the travel eSIM line, enable data roaming on it, and select it for cellular data. Then switch off roaming on your home SIM.
Is it better to install an eSIM before the trip or after landing?
Before the trip is better. Installing at home uses reliable Wi-Fi and gives time to troubleshoot, while installing after landing depends on airport or hotel Wi-Fi before you have any data.
Is an eSIM better than buying a local SIM card at the airport?
For most short trips, yes. An eSIM is ready before you board, with no kiosk lines or passport registration at the counter. A local SIM can still suit long stays that need a local phone number.
Can I keep my regular phone number while using a travel eSIM?
Yes. Dual SIM phones keep your home line active for calls and texts while the eSIM handles data. Verification codes from banks and apps still arrive on your usual number.
What happens if I delete my eSIM by mistake?
You’ll usually need a new QR code from the provider, because most eSIM profiles can’t be downloaded twice. Contact support with your order details rather than rescanning the old code.
How long does eSIM installation take?
Installation takes about 2 to 5 minutes on good Wi-Fi.
Install early, activate on arrival
A travel eSIM is a digital plan stored on your phone’s built-in chip, and the timing rule is simple: install it on stable Wi-Fi 1 to 2 days before departure, then activate it after you land. Installation downloads the profile, while activation begins when the line reaches a supported network in the destination. A quick pre-install check covers eSIM support, carrier lock status, and the plan’s validity policy. Setup takes minutes on iPhone, Samsung Galaxy, and Google Pixel. On arrival, switch on the travel line, enable its data roaming, and keep roaming off for your home SIM. Skip gate-side installs and accidental deletions, and your connection is ready on touchdown. Browse plans for 220 destinations at Vesim and install yours before your next trip.